FAQ: Cosplay Armor
“I want to build a cosplay armor but don’t know where to start”
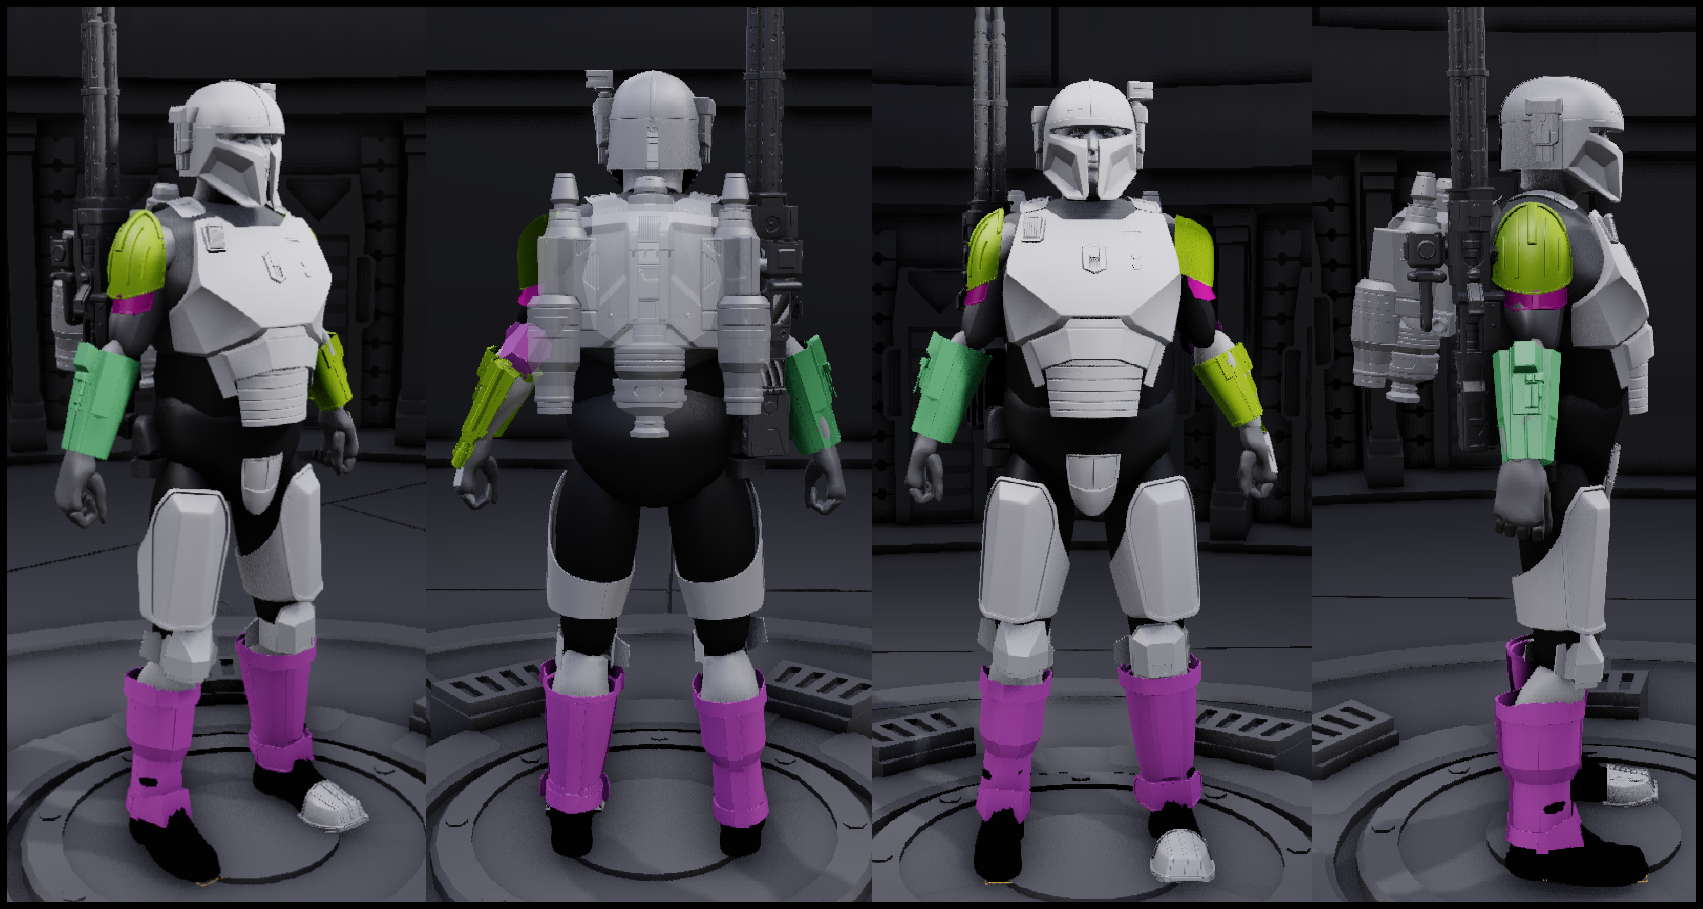
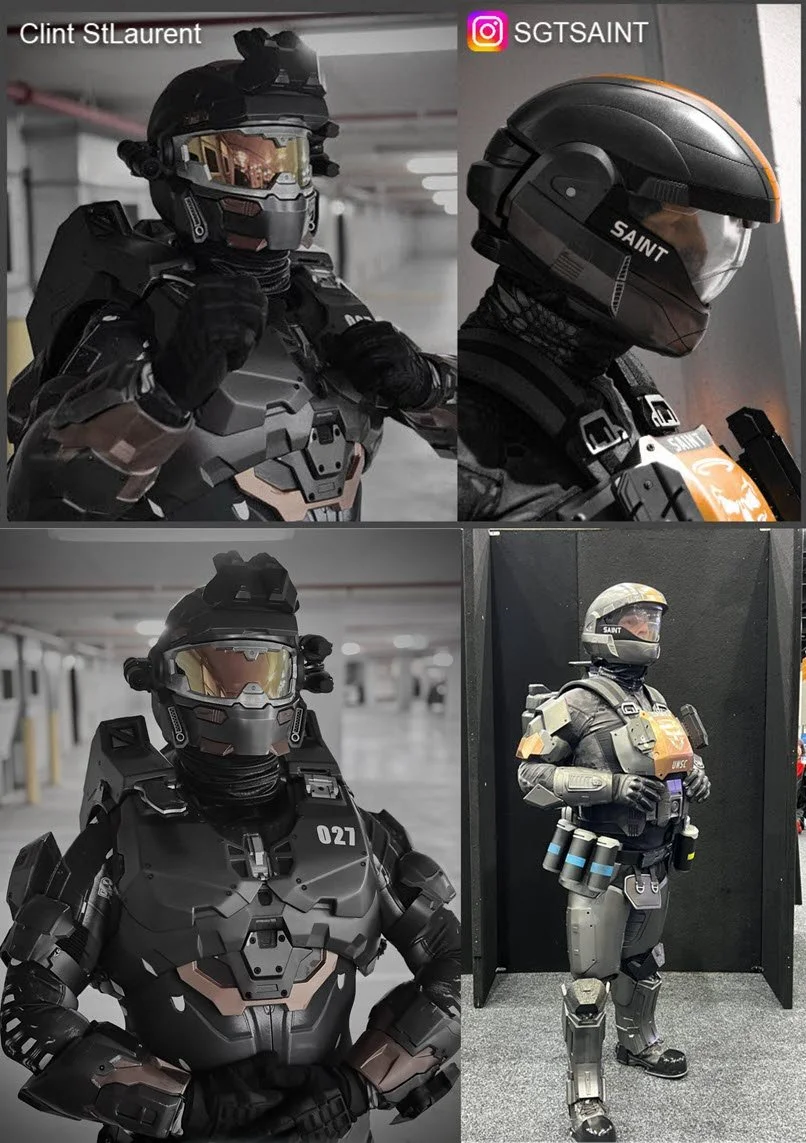
Start with not over thinking it.
Just because this is new to you doesn't mean its new. You don't have to re-invent the wheel with making, finishing, painting techniques - Nor with how to assemble or strap up your armor. With ANY new endeavor I urge people to scroll back in the forums and facebook pages about a year and just read, read, read. A day spent reading can gain you man-years of knowledge and insight. You see what gets asked over and over. You see the problems that pop up over and over. You see things like "after about 3 months these cracks appeared" or "how did you do strapping" or "what shade of green is this" and so on that you only get with the benefit of time.
YouTube: Instead of watching movies this week just watch YouTubes on printing, making armor, doing painting etc. There's nothing like WATCHING something happen both good and bad to be a great learning tool.
Read through some build threads where people detail the process, the scaling, the planning, the fails and successes, finishing, painting, strapping. These are a couple of mine but there are hundreds more. Also don't brush off build threads for armor different than yours. Just because it's a... Heavy Infantry Mandalorian, or an Ironman or whatever doesn't mean the lessons on scaling, padding and painting don't apply to your armor just as well.
Two people the same height still may not have same measurements.
One can have a long shin and the other a long thigh. One is built like a power lifter and the other like a slim swimmer. You have to match each armor part to YOUR body part.
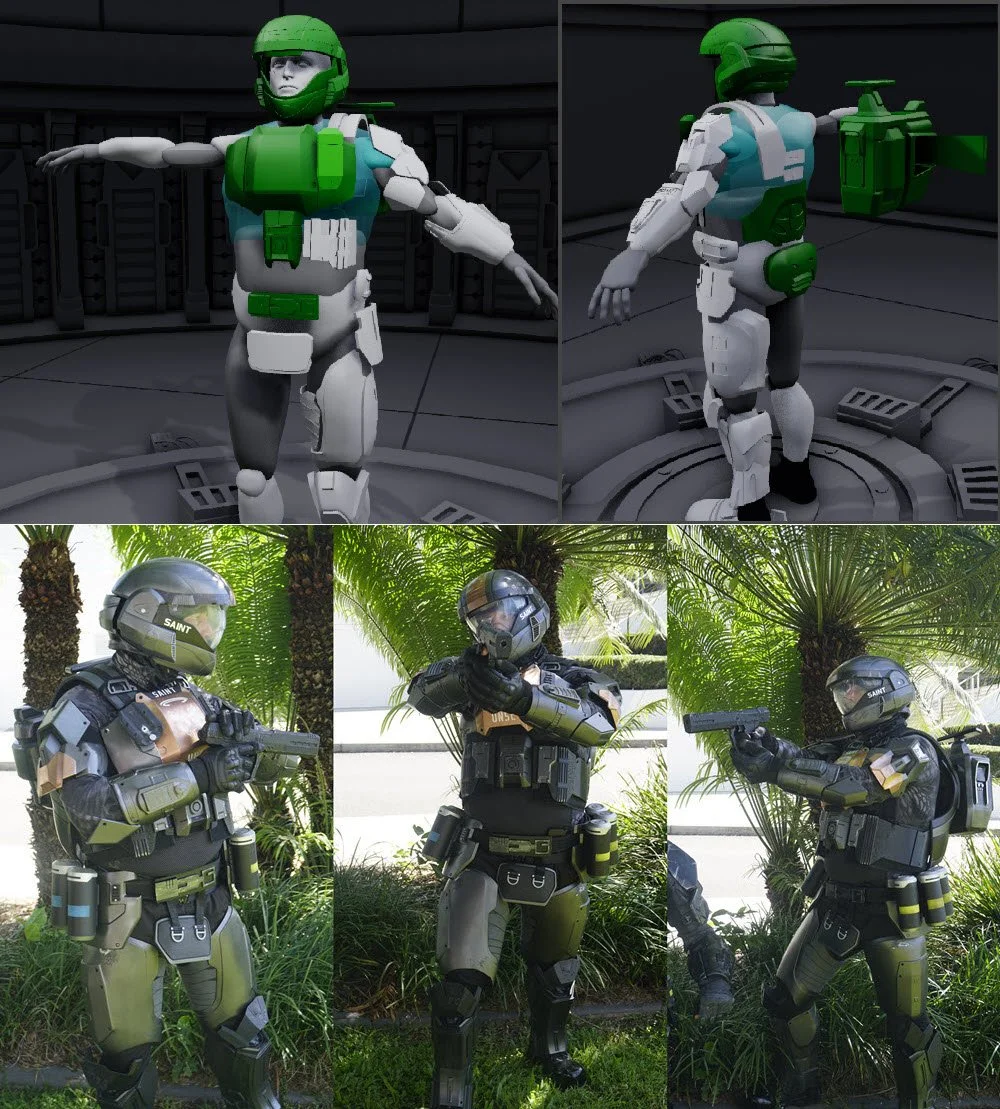
Blindly using a uniform scale of 103% or whatever is a fairly sure way to have a big pile of recycling. It's really, really common to have to go (as an example) 103% around because you have muscular legs, and only 99% in length to avoid joint conflict. So you have to scale part by part to your body. The most common way to handle this is a program called "Armorsmith".
Basically you build a digital avatar of yourself, then put the armor parts on that and scale to fit, then export the scaled parts.
If you’re having Starbase3d print your armor you then send us the scaled files and we print them. We can also build your avatar and scale your parts as part of the total build.
Scaling to fit
Skills building
Next build your skills. Don't use your helmet or real armor as test parts to learn on if you've never done this before, don't know sanding plastic printed parts etc. Maybe print 10 test XYZ cubes at like 60mm. Use those to learn good sanding, smoothing and painting techniques. If you can't make a flat cube look like metal then you know you aren't ready to tackle armor. Plus you have 6 sides per cube to test painting on and use as a visual record of "This is silver over gloss black" etc.
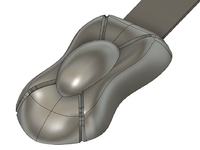
After the simple cubes move on to a "speed shape". These are commonly used to test paints on over various contours. This gives you a good model to practice sanding more complex shapes with curves and grooves on. Again, you're working up towards the complex shapes of helmets and armor. https://www.thingiverse.com/thing:4826498
Another important skill if you’re going to be printing small and seaming lots of parts to make one larger part (lots of labor and why we print the large parts as single seamless parts for cosplayers). But if you’re going to go this route then build your skills first. Print 50 tongue depressors: Fast cheap and easy. Then glue, weld, fill, seam and sand them until they look like a single, flat, contiguous sheet. Until you can make a bunch of flats looks like a single sheet its reasonable to accept that more complex shapes with lots of details is going to be harder not easier.
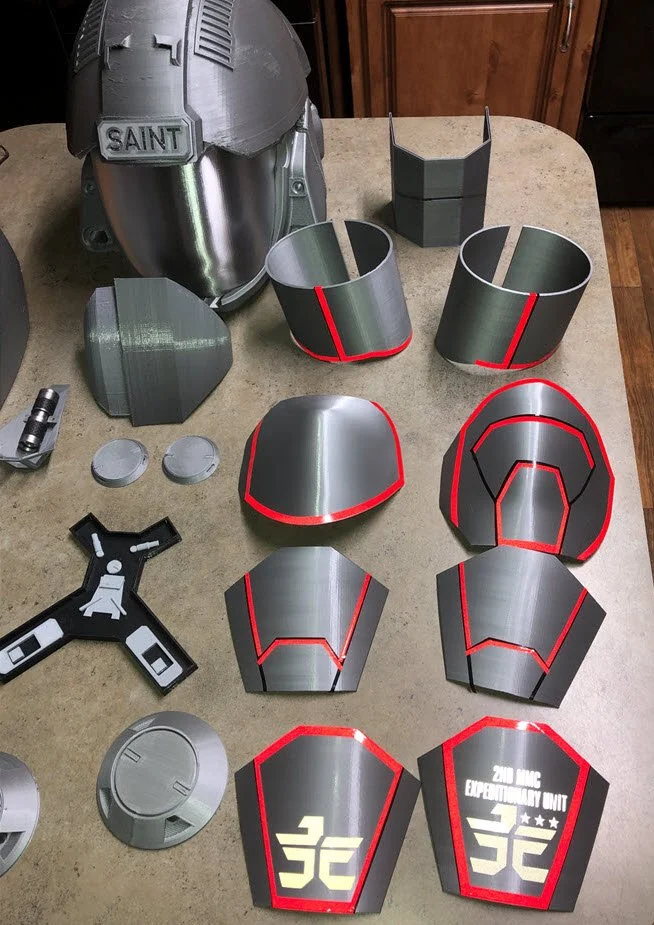
Order of building
Helmet probably should be last, not first. Yeah yeah, everyone wants a helmet to drool over. But it's the thing everyone stares at so you want to do it AFTER you've developed a process, techniques and skills.
Personally I always recommend starting at the feet & hands then working up & in to the body.
You're going to weather and distress the boots more than anything else... and they get looked at with the least critical eye.
Then shins which have to ride on the boots.
Then thighs since you have to avoid joint conflict so you can sit etc.
• See how this goes? Up from the boots, and inward from the hands to forearms to biceps to shoulders.By the time you get to the chest and helmet; the parts at eye level that everyone stares at, looks at first, is right there in your face in every photo you can make them look stellar.
And if you start at the boots you're looking at parts that are only a day or two per part not 6 days per part. So you can hone your scaling skills.
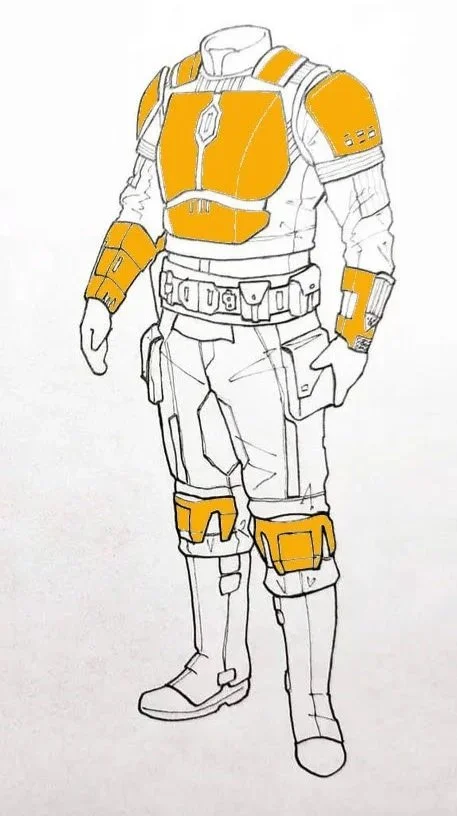
If you've never done an armor build before you might want your first armor to be one without the really tight tolerances of a Spartan or Ironman. I confess I made about 3 Spartan armors to get my first one right. It was very Goldilocks of "This is too big, this is too small, this is just right" with every part. If I had known way back then, what I learned through the process I would have made The Mandalorian (least actual armor) then an ODST then Spartan and actually gotten 2-3 good wearable costumes instead of a lot of waste.
If you're going to print 3 costumes either way, you should get 3 wearable costumes, instead of 1 and a pile of recycling, right?
Least tight of tolerance first, and work towards tightest tolerance.
So like:
1. The Mandalorian or Murderbot - very loose sizing requirements
2. Aliens Colonial Marine
3. ODST - a bit more snug and knees and elbow joint conflicts to be looked at
4. Spartan
5. Ironman